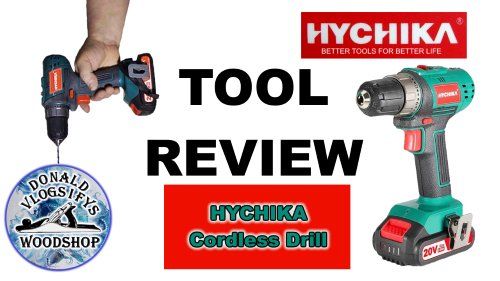
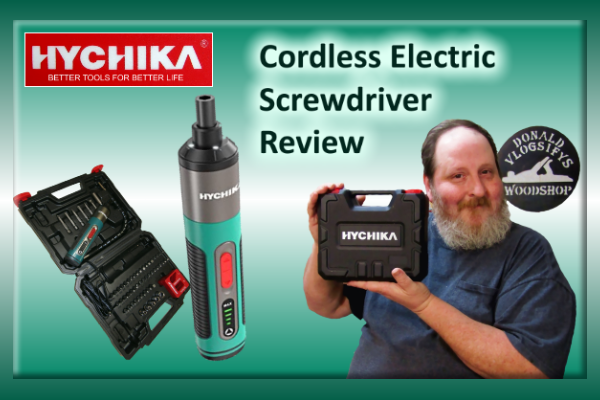
HYCHIKA Cordless Electric Screwdriver Review
Is the HYCHIKA Cordless Electric Screwdriver the solution I'm looking for?
 A place to get your hardware! Click Here! |
 The HYCHIKA cordless screwdriver comes with several accessories. Click here to enlarge. |
As always, the first step is getting the cordless screwdriver out of the box and exploring what comes with the HYCHIKA cordless electric screwdriver. Of course the screwdriver itself is in there. It boasts an idling speed of 280RPM and electric torque of 3Nm. (manual torque 10Nm) 4 gear torque adjustment, going from 1 to 3Nm. This is so that on delicate and small screws, you can start off light and prevent damage to the screw increasing the torque as needed. Use the trigger button by pressing the top to tighten, and press the bottom to loosen. There are four LED lights on the front end of the cordless screwdriver, making it easy to see what you are working on. Dark and low-light areas are no problem. The built-in 2000mAh battery will easily screw in 190 M3*35mm screws when fully charged. And the type-c charging port allows for quick recharge.  Check out the HYCHIKA cordless electric screwdriver for youself. CLICK HERE! |
| The driver bit slips right into the magnetic chuck and hold firmly to give great performance for tightening and loosening screws. And the HYCHIKA cordless screwdrivers comes with several different type driver bits with multiple sizes. Also included is a flex shaft attachment that allows you to get into tight and awkward spaces that you just can’t get to with a straight screwdriver. The handle grip shape is designed with a triangular shape that gives a better grip and more comfortable feel. Now on to my use of the electric screwdriver. I had a metal fan that needed some cleaning.And in order to get to the blades, I needed to remove several screws that were holding the front grate on. These are some tiny screws that I could be easily lost. So the first thing I did was magnetize the driver head I was going to use with the magnetizing tool that comes with the HYCHIKA cordless screwdriver. So I tried the first one. |
 The HYCHIKA cordless screwdriver tackling screws in action. Click here to enlarge. |
 The HYCHIKA electric screwdriver tackling screws and nuts. Click here to enlarge. |
I started out on the lowest torque setting and put the screwdriver heat in the screws slots and slowly began to try and loosen the screw. Somehow I managed to strip out the head of this screw nearly to the point that it was unusable. Upon further inspection, (which I should have done first), I found that these screws were screwed into some nuts. So I fumbled until I finally got a small set of pliers on that nut. Then added a bit of pressure to the cordless screwdriver and loosened that one. I got all the rest of the screws removed, the grate off and the fan blades cleaned as well as both sides of the grate. The next trick was to put the front grate back on with the screws provided. This was not easy as the screws and nuts were tiny and the arthritis in my hands strong. Not to mention my eyesight ain't what it used to be. I eventually got the first screw worked through the screw holes on the grates and the tiny little nut started on the tiny little screw. Then I tightened them with the pliers in the back, holding the nut and the HYCHIKA cordless screwdriver on the business end tightening them down. Again, on the lowest torque setting, until snug but not over tight. I didn't want to strip out any more of the screw heads. |
| Next I had a string trimmer that needed assembling. Which I also did a review on here. This job only required 2 two inch screws to be driven in to hold the string guard in place. The HYCHIKA electric screwdriver made fast work of them with no problem. I was honestly grateful to have the cordless screwdriver on this one as it would have been too tuff a job to do with arthritic hand and a manual screwdriver. Yet a drill would have been a bit too much. I also disassembled and older fan that had a burned out motor in it. Doing what my father did and stripping it of it's screws, cords, bearings, and anything else I might find useful on it before chunking the bare carcass into the trash. I'd have boiled the bones if I had thought they held marrow. |
 Attaching a weed trimmer guard with the HYCHIKA cordless electric screwdriver Click here to enlarge. |
 The HYCHIKA cordless electric screwdriver comes with this flex-shaft. Click here to enlarge. |
Next I created a test piece with an old piece of scrap wood and tried some scenarios I might come across putting screws in wood with the HYCHIKA cordless screwdriver. First I wanted to try the flex shaft attachment. I really didn't have any work available that was in a hard to get to place, so I bent the flex shaft and used my imagination. I magnetized the driver head and began to work a screw in. I had already drilled a pilot hole. So all that was needed was to put the screw head on the magnetized head and maneuver it into the pilot hole. The cordless screwdriver drove the screw right on in and back out again. No problem. Even with the shaft bent, plenty of torque to do the job. I have been very impressed by the HYCHIKA cordless electric screwdriver. Several jobs later that I didn't even cover in the video below, and the tool works great. I am proud to recommend it. Especially for people like me who have issues with arthritis. It sure beats cranking a manual screwdriver when your hands are full of cramps and having spasms. |
| HYCHIKA Cordless Electric Screwdriver Review |
Redneck Know How Blog